
Going LIVE is the new way of saying “Hello” today! Owing to the pandemic that made even the most technophobic individuals embrace the digital world, Live Streaming made its way around the group of Content Creators, TikTokers, and Influencers. When it comes to conducting professional live streams, there’s no room for error! If you wish to learn how you can execute sophisticated and high-quality live streams then we highly recommend you to read our recently published blog: 5 powerful tips to conduct regular LIVE Streams like a pro
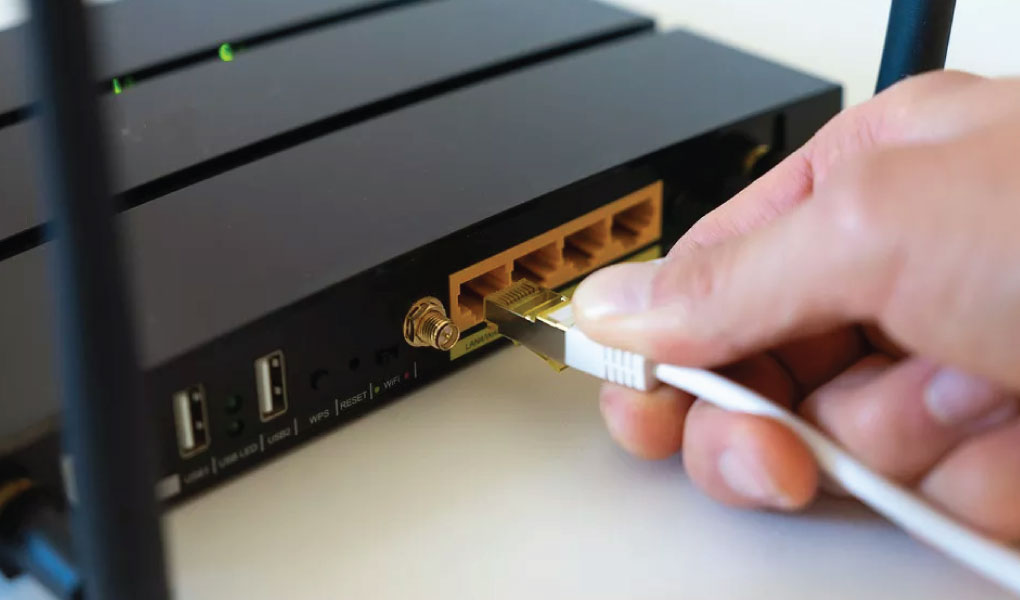
Although conducting Live Streams might seem like watching rainbows from your rooftop and smelling fresh roses from your garden, it is not as simple as it looks on screen. Unless you own the right tools or equipment, you can’t possibly imagine conducting live streams on a regular basis. There is one significant aspect that determines the success of your live sessions. It is none other than Encoding. Encoding is required in video streaming to compress and convert raw files into a suitable digital format for online delivery. An encoder is a device that executes the same thing we have mentioned in the previous line. Albeit you can opt-in for both software encoders and hardware encoders but it is highly preferred to choose software encoders over hardware ones because the former is considered more convenient, suitable, and cost-effective for live streaming.
As some of you might know, OBS is a free-of-cost, open-source, RTMP-enabled encoding software that is being extensively used by a majority of live streamers around the world to carry out professional-quality live videos with ease. OBS is an extremely effective and convenient live streaming enabler but even the best tools in the world cannot perform to their best abilities without personalized and proper settings. OBS Studio has n number of features and settings that can be confusing for both first-time and regular users. In today’s blog section, Zifilink will discuss some recommended OBS studio settings so that you can reap the best out of that platform. So, let’s get started without adding anything more.
General
Before moving on to something extremely complicated, it is important to have the general configuration in place. To sort your general settings, go to the “General” tab then select your language and theme preferences to conduct your live streams with comfort.
Video
This is the main part of your OBS settings that you must pay optimum attention to. You need to go to the “Video” tab to get started. In the tab, you’ll find settings for Base (Canvas) Resolution, Output (Scaled) Resolution, Downscale Filter, and Common FPS Values.
The Base (Canvas) Resolution determines the size of your video’s display and the standard setting for that would be 1920×1080.
Output (Scaled) Resolution will decide the placement of your stream. For the 1080 stream, you have to set it at 1920×1080.
Downscale Filter is used to downscale your resolution and we recommend you to use Bicubic due to its good quality.
Common FPS (Frames Per Second) Values can be set to 60 as a standard value for most streams.
Audio
Your audio settings need to be established in the right way just as your video settings. In the “General” tab, you’ll find two options for the Audio – Sample Rate and Channels. Recommended settings for those would be 48 kHz and Stereo respectively.
Output
Output will need special configuration for ensuring perfection in your live streams. After visiting the “Output” section, you need to change the default mode (Simple) to “Advanced” and select the “Streaming” tab as well. For Audio Track, the standard is 1 but if you have multiple audio tracks then you must choose the appropriate number. In the case of Encoder, the best option would be NVIDIA NVENC H.264 (new) encoder.
Bitrate/Internet Speed
Needless to say but to get the best internet connection for live streaming, you have to take your internet speed into account. To avoid buffering issues during live streams, we recommend you ensure that your internet speed is double or triple the bitrate. Your display resolution and FPS determine the fate of your internet connectivity. Our recommendations are,
- 720p video at 60 frames per second – 2,500 to 5,000 kbps
- 1080p video at 30 frames per second – 3,000 to 6,000 kbps
- 1080p video at 60 frames per second – 4,500 to 9,000 kbps
Video Sources
If you are planning to use any video sources then go to the “+” button in the “Sources” widget and add the media you want to get started.
Stream Recording
Many people love to record their streams as live streams are evergreen content. A significant reason why we recommend you to record your streams is to prevent data loss in the future. To record your live streams, you just need to go to the Control Panel and select “Start Recording”. You can view your recorded streams easily after going to the
“File” section and selecting
“Show Recordings.”
Your LIVE Streams are incomplete without a stable and reliable broadband connection. Opt-in for Zifilink’s internet bonding routers to enjoy fuss-free and high-quality live streaming. Connect with Zifilink’s team to learn more.

About The Author: Sajith
More posts by Sajith